
Welcome to Wedding Sign: Ideas, Wording, and Design Tips
Make Your First Impression Count With a Friendly, Personal Touch

A beautiful welcome to wedding sign is more than a directional marker; it's the first taste of the day your guests will see, a little moment that sets tone and style. When you get this sign right, guests arrive feeling excited, cared for, and primed to experience the celebration you've imagined. Get it wrong and you risk confusion, missed photos, or a first impression that doesn't match the vibe you worked so hard to create.
Jump to a Section
- Why a Welcome to Wedding Sign Matters
- Types of Welcome to Wedding Signs
- Wording and Phrasing Ideas
- Design Elements That Make Your Sign Pop
- Where to Put Your Welcome Sign
- Lighting and Weather Considerations
- Coordinate Your Sign With Other Stationery
- DIY vs Custom: What's Right for You?
- How to Order a Custom Welcome Sign
- Budget and Pricing Realities
- Photo-Friendly Tips
- Accessibility and Readability
- Real Examples and Styling Ideas
- Timeline: When to Decide and Order
- Tips for Setup and Day-Of Logistics
- Frequently Asked Questions
Why a Welcome to Wedding Sign Matters
Your welcome sign does three big jobs, and it's worth thinking about each one.
- It greets guests, making friends and family feel seen and celebrated from the moment they arrive.
- It informs, delivering essential details like ceremony location, schedule highlights, or whether the reception is inside or outside.
- It sets the vibe, showing off your wedding aesthetic: formal, playful, rustic, modern, or somewhere in between.
Think of the sign as a micro first chapter: friendly, clear, and on-brand. It's also one of the most photographed flat surfaces at your day, so you'll want it to look polished on camera.
Types of Welcome to Wedding Signs
Material and finish influence both look and durability. Choose based on venue, weather, and the mood you want to convey.

Wood Signs
Warm, rustic, and timeless. Wood pairs well with outdoor barns, vineyards, or woodland venues. You can stain, paint, or laser-etch wood for a handcrafted feel.
Acrylic Signs
Clean and modern, acrylic is perfect for minimalist or luxe weddings. It reflects light nicely and looks sharp in photos. Consider white ink, metallic lettering, or a mirrored backing. Browse our welcome signs collection for popular acrylic styles.
Chalkboard and Painted Signs
Casual and DIY-friendly. Chalkboard signs give you a charming, handwritten look. They work well for boho, backyard, or intimate weddings.
Mirror Signs
Elegant and reflective, mirror signs read beautifully indoors and add a glamorous touch. Use gold or silver frames to elevate the look.
Fabric Banners and Flags
Soft and portable, fabric signs are great for beach or tented venues. They travel easily and can be sewn or printed with your wording and design.
Paper or Poster Boards
Affordable and versatile, paper signs are ideal for temporary use or tight budgets. Mount them on foam core or acrylic for extra sturdiness.
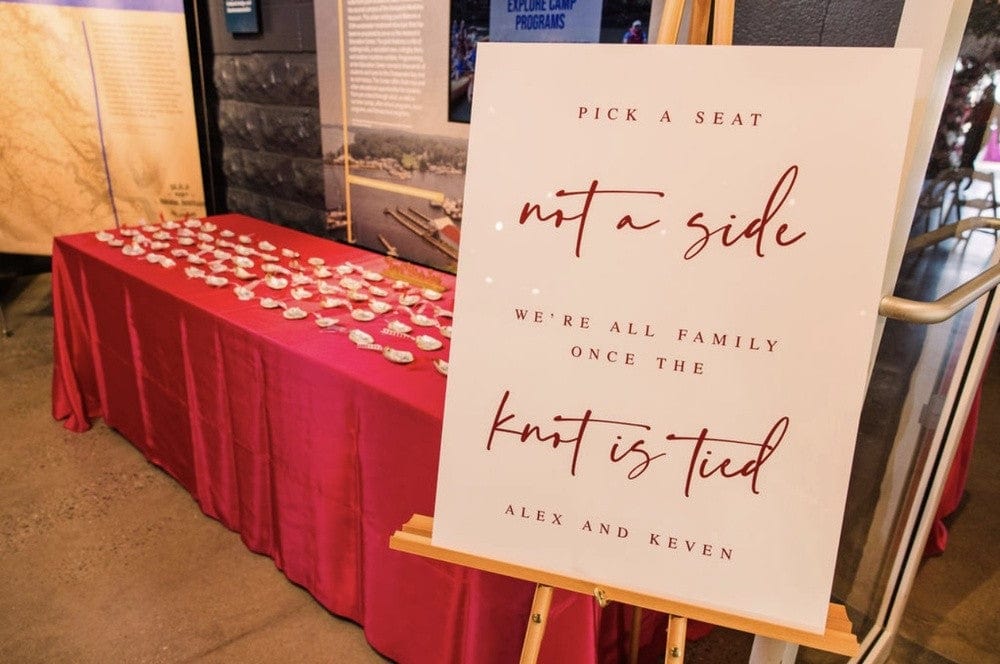
Wording and Phrasing Ideas for Your Welcome to Wedding Sign
Wording depends on tone, formality, and whether you need to give directions or information. Keep lines short and readable from a distance.
Classic and Formal
- Welcome to the Wedding of Emma & Noah
- Thank you for celebrating with us
Warm and Personal
- Hi, we're glad you're here — Sarah & Alex
- Welcome — grab a drink and join the celebration
Playful and Short
- Love, Laughter, and Happily Ever After
- Grab a seat, not a spouse
Directional or Informational
- Ceremony this way
- Reception to follow in the Garden
- Unplugged Ceremony: Please silence phones
Memory or Acknowledgment
- We remember loved ones who are with us in spirit
- In loving memory of...
Multilingual Options
If you have bilingual guests, include a second language. Keep translation short and proofread with a native speaker.
Design Elements That Make Your Sign Pop
Typography, color, and scale are small decisions that add up to a big impression. Here's how to approach each element.

Typography
- Limit fonts to two: one script for names or accents, and one sans serif or serif for body text.
- Choose legible scripts: thin flourishes look pretty but vanish in photos or at a distance.
- Use hierarchy: largest for names, medium for greetings, smallest for directions.
Color and Contrast
High contrast is essential for readability. If your sign background is dark, choose pale lettering; if it's light, pick a dark ink.
Imagery and Motifs
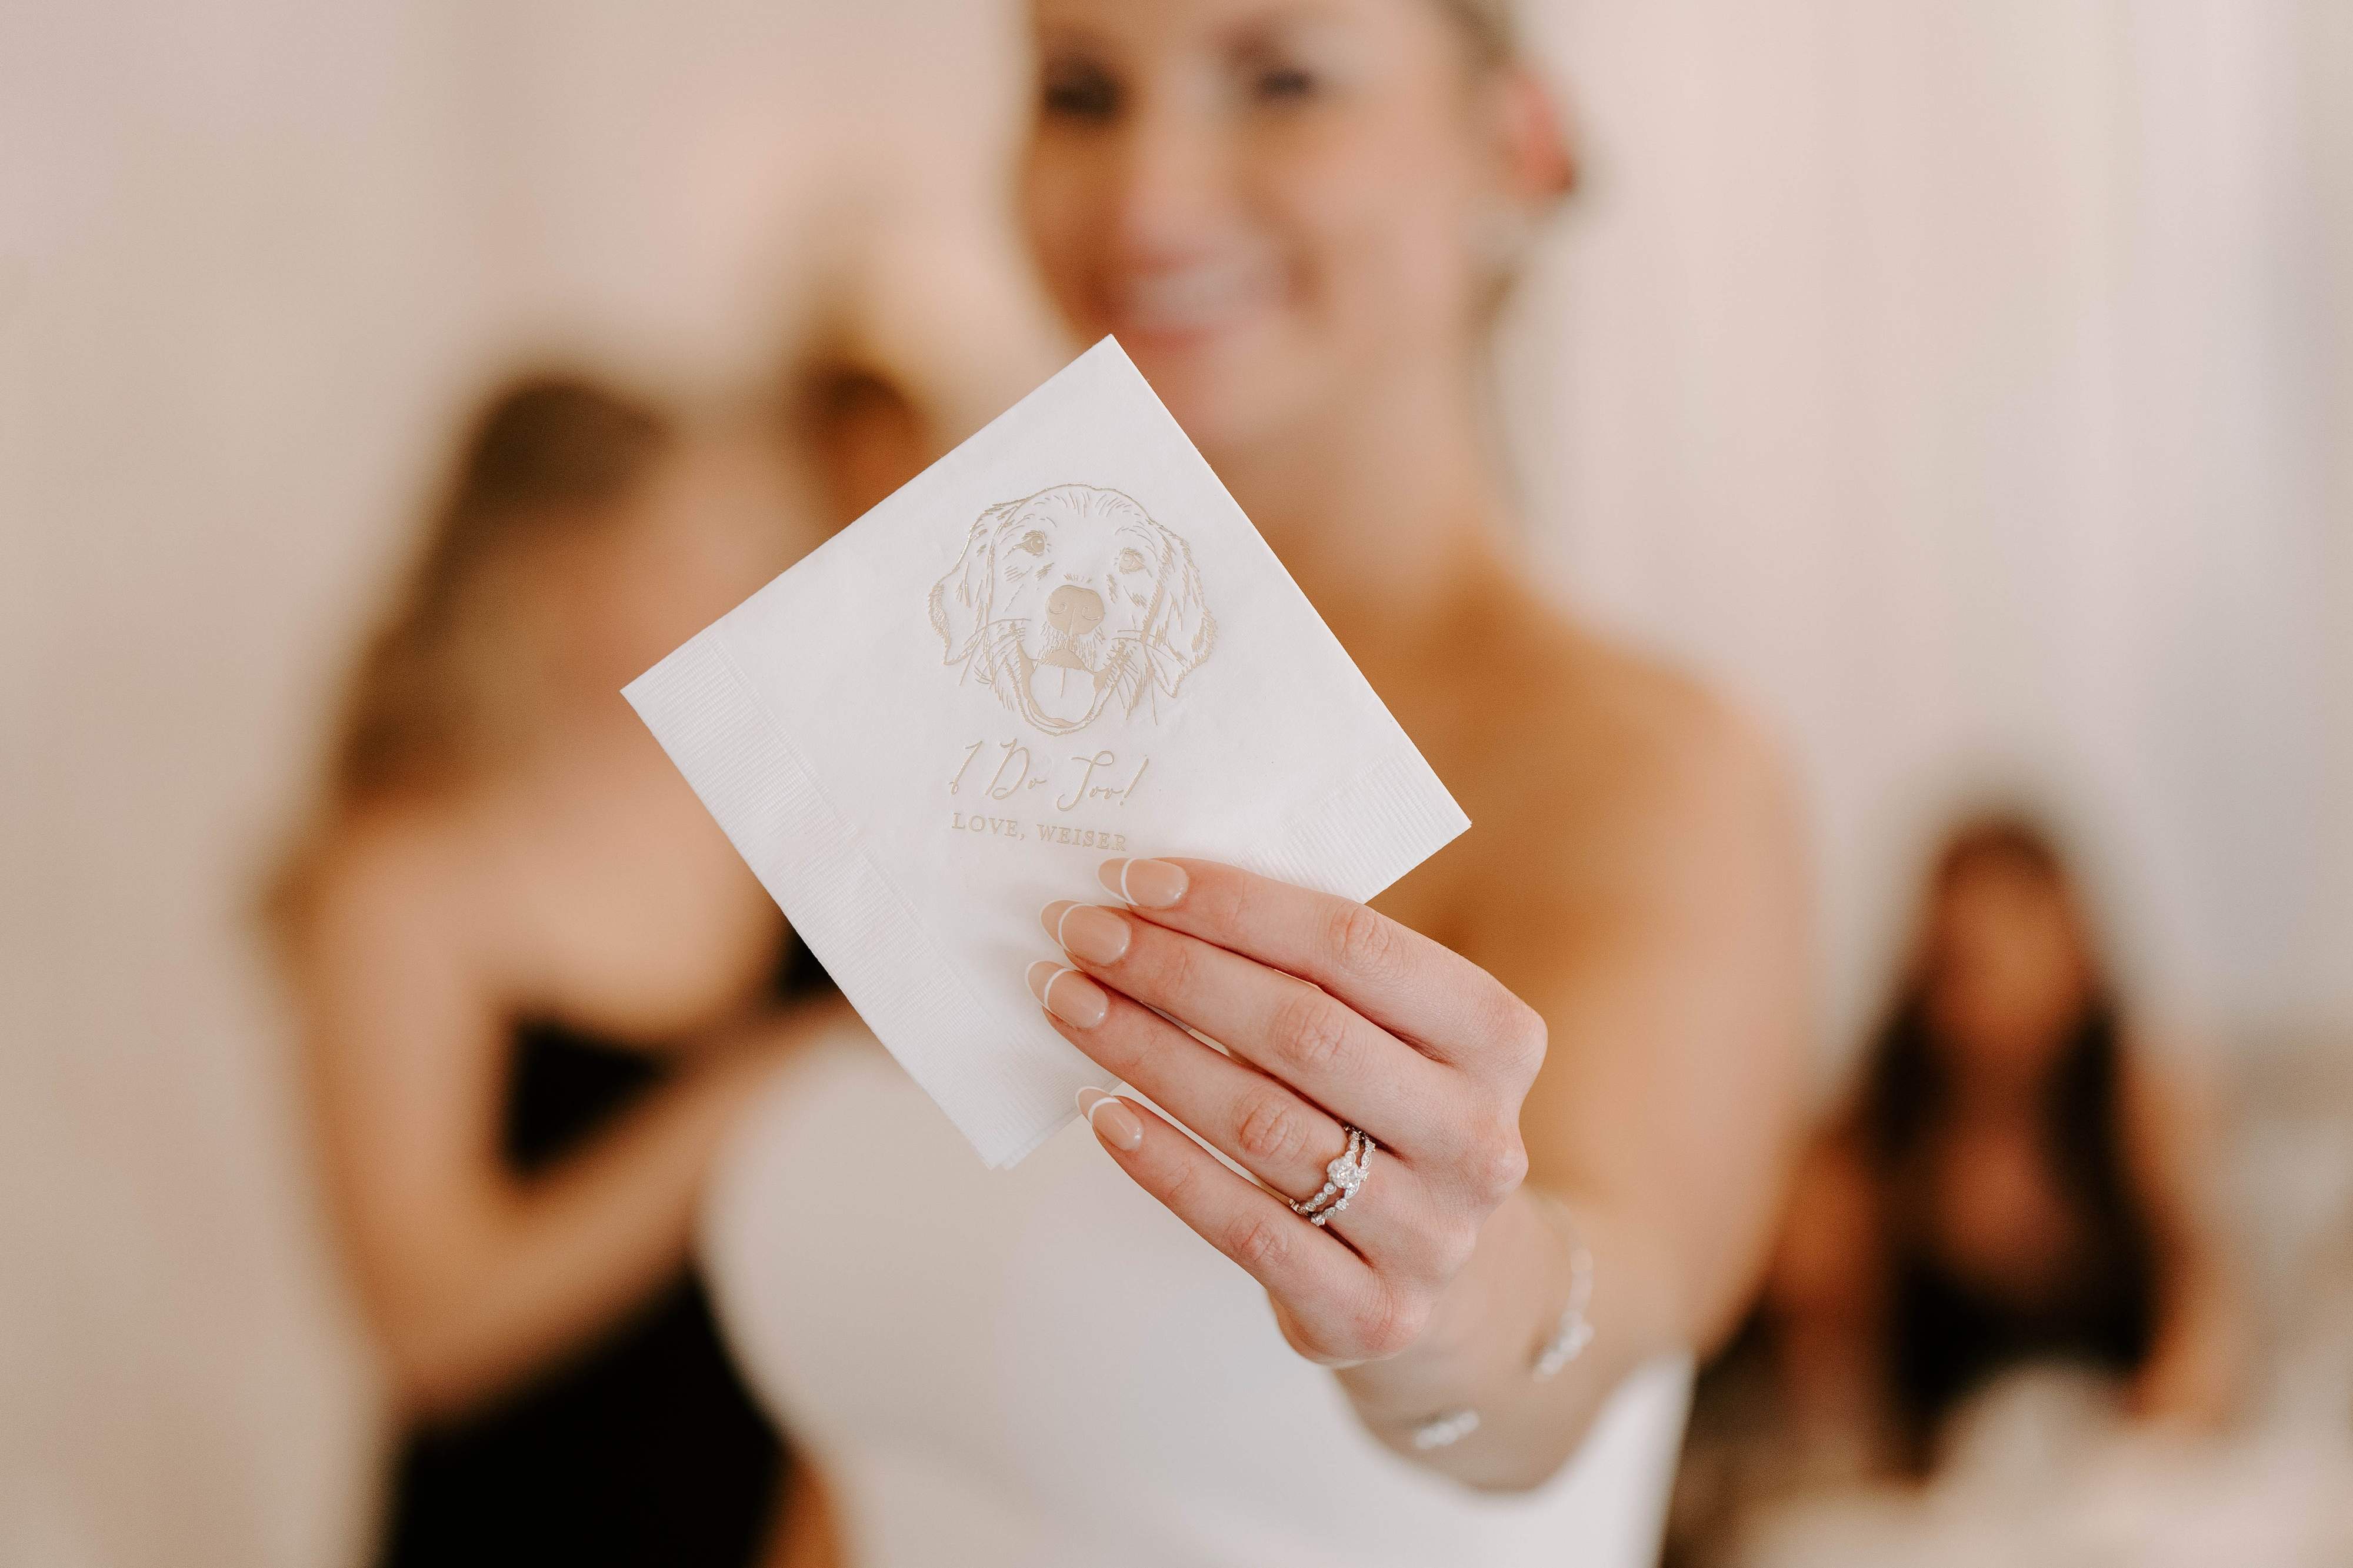
Small illustrations, like a simple monogram, floral sprig, or even a tiny paw print, personalize the sign without overcrowding it. A monogram gives a polished, cohesive look you can repeat across stationery and custom napkins.
Size and Scale
- For outdoor or large entryways, aim for at least 24 x 36 inches so text reads from a distance.
- For intimate venues, smaller signs like 16 x 20 can work when placed close to the entrance.
Where to Put Your Welcome to Wedding Sign
Placement affects both function and photos. Choose a spot where guests naturally pause and where signage won't block foot traffic.
High-Traffic Entry
Place the sign where guests arrive: near parking lot exits, walkway entrances, or the ceremony gate, so it's the first thing they see.
At a Path Split
If your venue has multiple paths or buildings, add directional arrows and put a sign at any fork in the road.
Near the Guestbook or Welcome Table
Pair the sign with a welcome table that holds programs, hand sanitizer, and seating cards for a smooth arrival experience.
Mounting Options
- Easels work for freestanding signs and are easy to set up and move.
- Chain or rope mounts are great for fences or barn doors.
- Weighted bases or stands keep signs secure outdoors on windy days.
Lighting and Weather Considerations
Good lighting ensures your sign reads well in photos and in person.
- Use string lights, uplights, or spotlights for evening arrivals.
- Choose weatherproof materials or protective coatings for outdoor signs.
- Have a backup plan: if rain is forecast, move the sign under cover or indoors.
Coordinate Your Sign With Other Wedding Stationery
Your welcome sign should feel like part of the same visual family as invitations, menus, and favors. Consistency creates a polished guest experience.
- Match fonts and paper textures where possible.
- Repeat motifs, such as a floral border or a monogram, across signage and printed items.
- Coordinate color palettes so photos look cohesive from arrival through dessert.
For ideas you can use across your event, browse our full wedding signs collection to see popular, coordinated items that pair well with welcome signs.
DIY vs Custom: What's Right for You?
DIY Pros and Cons
- Pros: Budget-friendly, highly personal, and flexible for last-minute changes.
- Cons: Time-consuming, may look less refined, and can be stressful if you're on a tight schedule.
Custom Pros and Cons
- Pros: Professionally printed, high-quality materials, design help from experts, and less hands-on stress.
- Cons: Costs more and needs lead time for proofs and shipping.
If you want a handcrafted look without the sweat, reach out for custom options through our contact page.
How to Order a Custom Welcome to Wedding Sign
Ordering a custom sign doesn't have to be complicated. Here's a clear checklist to follow so your sign is perfect and arrives on time.
- Decide on size and material. Consider transport, setup, and venue limitations.
- Pick a design direction. Bring examples: color swatches, invite photos, or Pinterest links.
- Choose wording. Keep it concise and proofread names and spellings carefully.
- Request a proof. Ask to see how fonts, spacing, and colors look at actual size.
- Confirm lead times. For custom printed acrylic or hand-painted wood, allow 3 to 6 weeks; rush options may be available.
- Plan delivery and setup. Confirm the delivery address and plan who will set up the sign on the wedding day.
Want a head start? Our curated collections make it easy to pick items that match your sign. Check our customer favorites to see complementary pieces like napkins and cups that tie the look together.
Budget and Pricing Realities
Sign prices vary widely depending on size, material, and whether you go custom. Here's a quick guide to expected ranges so you can budget with confidence.
- Paper or poster board: Low-cost option, typically under $100, depending on printing and mounting.
- Chalkboard or framed prints: Mid-range, $100 to $300, depending on frame and finish.
- Wood or acrylic custom signs: Higher-end, often $300 to $800 or more for large, handcrafted pieces.
- Rentals: Some venues or rental houses offer signage for a fraction of purchase price; factor in delivery and setup fees.
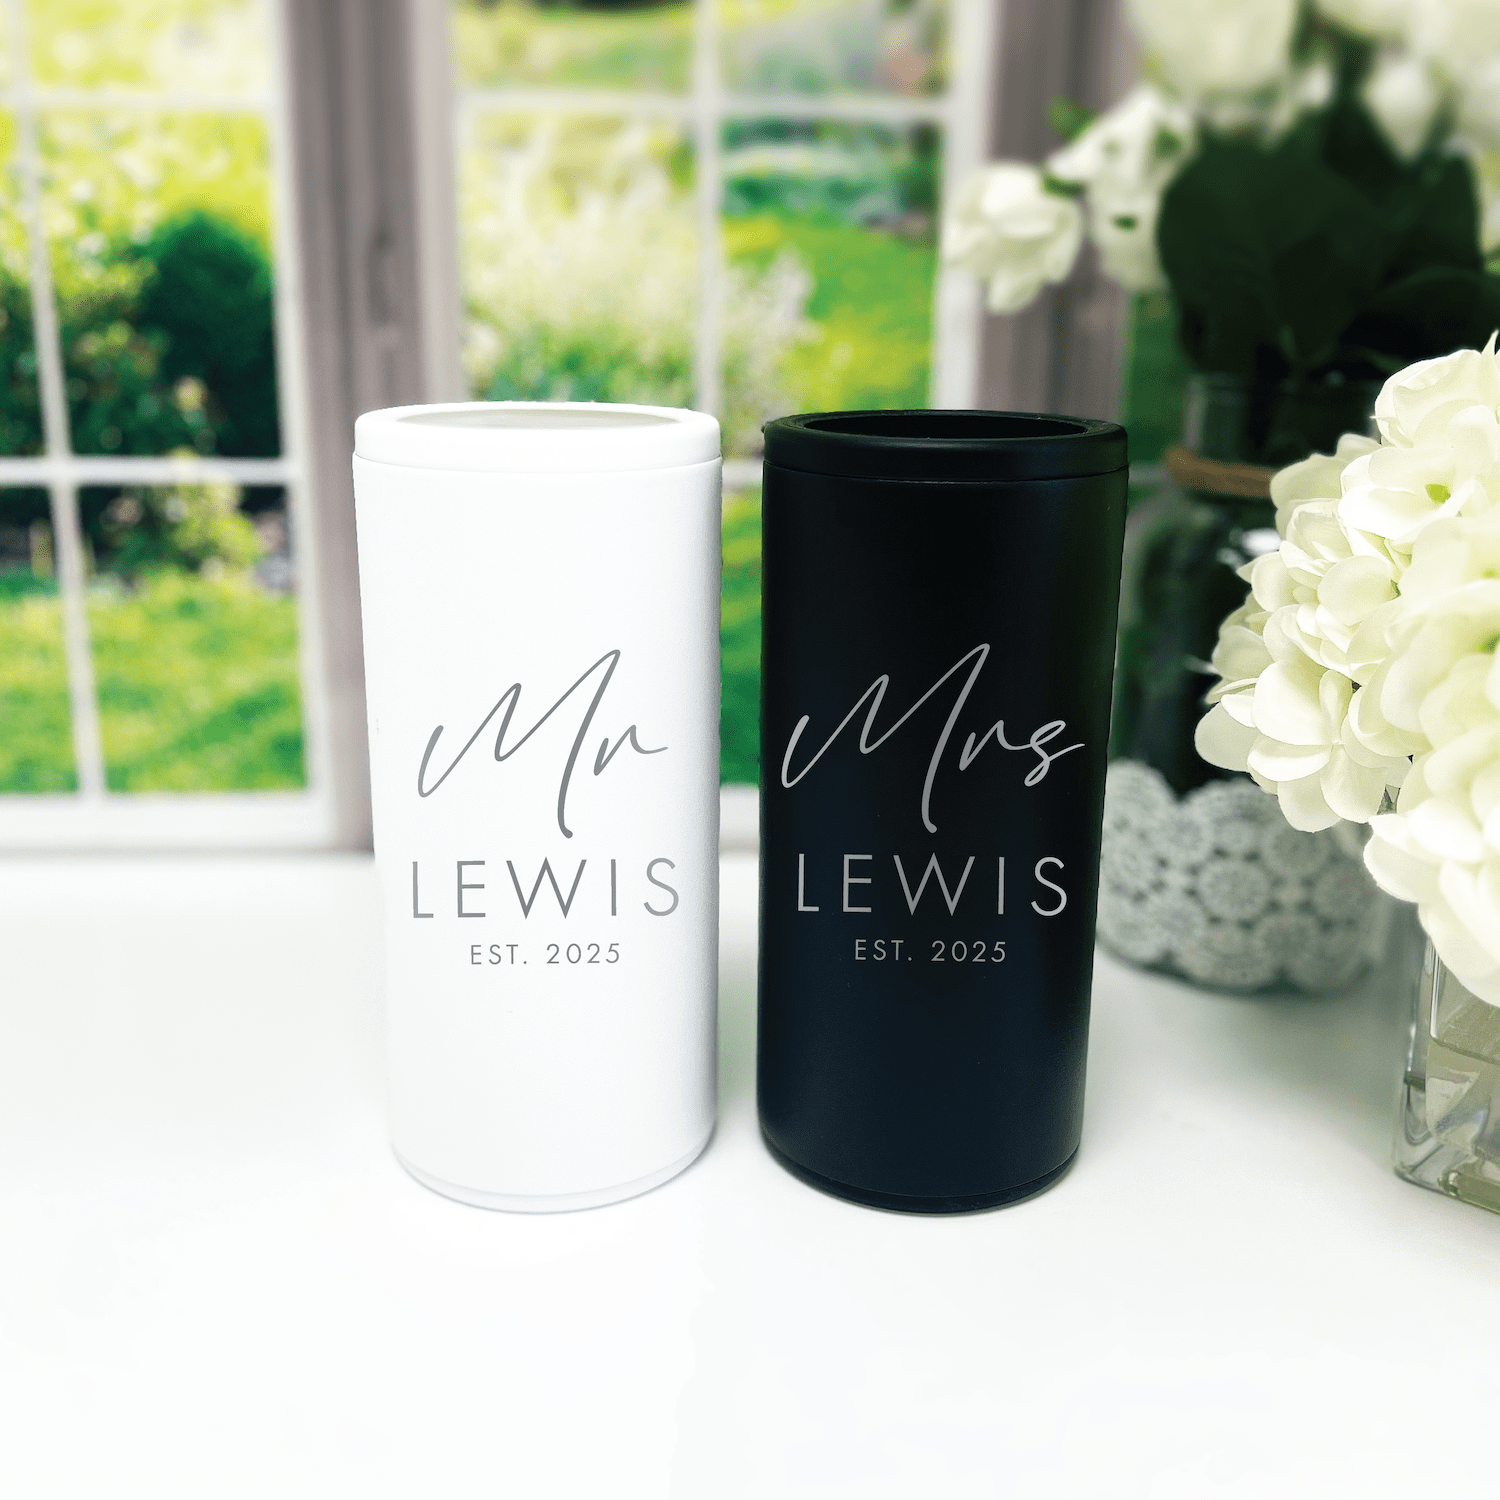
If budget is a concern, consider combining a smaller main sign with coordinated printed items, like custom napkins or frosted cups, for a cohesive feel without overspending on one piece.
Photo-Friendly Tips: Make Your Sign Camera-Ready
If guests are likely to snap photos near the sign, plan for how it will appear in pictures.

- Use bold, readable fonts; tiny script gets lost in photos.
- Keep the background simple so faces don't blend into the sign.
- Add soft lighting or fairy lights for evening photos.
- Leave space around the sign for photos; avoid cluttering it with too many props.
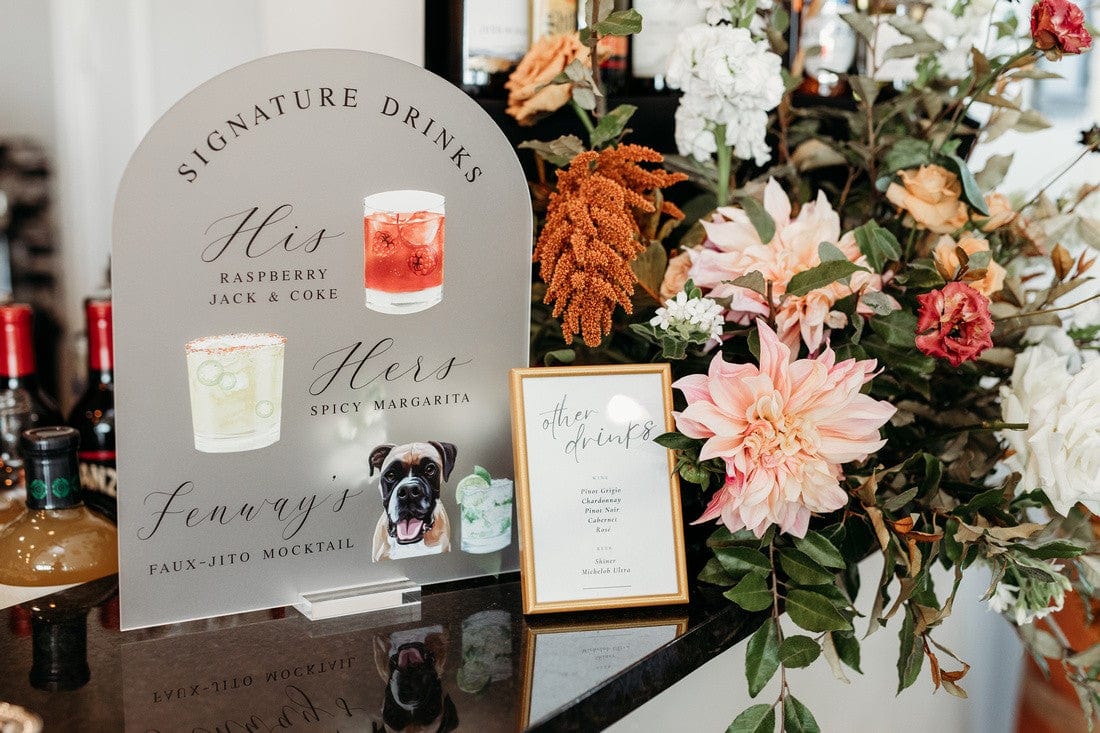
Pro tip: Add a small prop like a signature drink board nearby to create a styled photo moment your guests will love.
Accessibility and Readability: Make Your Sign Inclusive
Legibility isn't just pretty, it's practical. Consider guests with vision differences or mobility limitations.
- Choose high contrast colors and larger font sizes.
- Keep directional text short and precise.
- Place the sign at a height that can be read by someone standing or in a wheelchair.
- If you have many non-English speakers, include a simple second-language line or pictogram.
Real Examples and Styling Ideas
Seeing concepts in context can help you imagine what fits your day. Here are a few real-style ideas you can adapt.
Rustic Barn Reception
Material: Stained wood, large script names, floral corner accents. Placement: At the barn entrance with string lights overhead and mason jar flowers on a welcome table. Pair with illustrated pet napkins for a warm, personal touch.
Minimal Modern Rooftop
Material: Clear acrylic with white lettering and a metallic base. Design: Simple monogram, date, and a short greeting. Placement: By the elevator or rooftop entrance, lit from below. Pair with frosted cups for a clean, cohesive look.
Beach Ceremony
Material: Lightweight fabric banner or weatherproof acrylic. Design: Playful script and a directional arrow to the sand. Placement: Anchored between two posts or on a large easel near the parking area.
Timeline: When to Decide and Order
Plan ahead to avoid rushed decisions and expensive rush fees.
- 6 to 8 months before: Choose style and material.
- 3 to 4 months before: Finalize wording and request proofs.
- 2 to 3 weeks before: Confirm shipping and delivery details.
- 1 week before: Follow up to make sure the sign has shipped or will arrive with the event planner.
Tips for Setup and Day-Of Logistics
- Assign one person to be responsible for setup.
- Bring extra mounting supplies: zip ties, poster putty, command strips, and a small hammer or mallet for stakes.
- Take a daytime and evening photo of the sign in place to confirm lighting and legibility.
- If the sign is heavy, confirm the venue can assist with setup and has a secure spot to store it after the event.
Putting It All Together: Sample Sign Sets

Classic Garden
- Wood welcome sign with elegant script
- Guestbook table with floral cluster
- Custom illustrated napkins featuring a pet portrait for a personal touch
City Chic
- Acrylic sign with minimalist monogram
- Frosted cups for the cocktail hour
- Printed seating chart on matching acrylic panels — browse our wedding seating charts for options that pair beautifully
Frequently Asked Questions
How far in advance should I order a custom welcome to wedding sign?
Order 3 to 6 weeks ahead for most custom options. If you need hand-painted wood or laser-etched acrylic, allow closer to 4 to 6 weeks. For rush orders, contact us directly through our contact page.
What size welcome to wedding sign should I choose?
For outdoor or large entryways, 24 x 36 inches or larger is best. For intimate indoor venues, 16 x 20 or 18 x 24 usually works. Consider viewing distance and how many people will stand in front of the sign for photos.
Can I match my welcome sign to my invitations?
Yes. Match fonts, colors, and motifs for a cohesive look across your wedding stationery. Bring samples or images when ordering a custom sign to help the designer match the details.
Are welcome signs reusable or keepsakes?
Absolutely. Many couples keep a custom sign as a memento, reuse it for anniversary celebrations, or repurpose it as home decor. Choose durable materials and protective finishes if you plan to keep it long-term.
What if my venue is windy or rainy?
Choose weatherproof materials like treated wood or acrylic. Secure signs with weighted bases, sandbags, or stakes. For extreme weather, have a backup plan to move the sign under cover.
Can I include photos or illustrations on my sign?
Yes. You can add small illustrations, like floral accents or pet portraits, to personalize the sign. For larger photos, be mindful of readability: full-photo backgrounds can make text harder to see unless contrast is carefully managed.
How do I make sure names and spellings are correct?
Double- and triple-check all spellings before approving a proof. Ask a trusted friend to proofread as well; fresh eyes catch errors you might miss.
Do I need to provide my own easel or hardware?
Sometimes. Many venues or rental vendors provide easels and mounting hardware. If not, easy-to-transport easels are inexpensive and useful to include in your decor checklist. Check with your vendor or venue ahead of time.
Conclusion
Your welcome to wedding sign is a small detail with big impact. Thoughtful wording, clear typography, and coordinated design create a warm, helpful arrival that signals what kind of celebration you've planned. Whether you DIY or commission a custom piece, plan for readability, placement, and timing so the sign arrives feeling effortless and intentional. When the first guest walks up and smiles, you'll know you got it right.
Related Posts
- Wedding Welcome Sign Ideas: Design, Wording, and Placement Guide
- Welcome to the Wedding Sign: Tips and Inspiration
- Welcome Sign to Wedding: Best Styles and How to Use Them
- The Ultimate Guide to Wedding Welcome Sign Ideas 2026
- 9 Stunning Wedding Party Sign Ideas to Elevate Your 2026 Event
- 5 Signs Every Wedding Needs
- Don't Forget Your Wedding Signage!
- Personalized Touches for Guests That Make Weddings Unforgettable
- Checklist for Wedding Decor: Everything You Need
- Wedding Color Palette Ideas: 25 Stylish Palettes and How to Use Them
About Rubi and Lib
At Rubi and Lib, we specialize in helping you celebrate life's most memorable moments with personalized wedding and party decor designed to reflect your unique style. From custom cocktail napkins and frosted plastic cups to bar signs and party favors, our curated collections are created to elevate your celebration and leave a lasting impression on your guests.
Whether you're planning a wedding, bridal shower, bachelorette party, baby shower, or birthday bash, our products add a thoughtful, stylish touch that turns an ordinary gathering into an unforgettable event. Many of our designs feature custom illustrations, including pet portraits, so your decor feels as one-of-a-kind as your story.
As a women-owned small business, we're passionate about making the ordering process seamless and enjoyable. Every item is crafted with care and attention to detail, and most of our products are made in the USA. We believe celebrations should feel personal, joyful, and stress-free, and that's why we're here to help you create meaningful moments, one custom detail at a time.
Explore our best sellers, discover customer favorites, or reach out for something truly unique. At Rubi and Lib, your celebration is our inspiration.

Written by Bethany Wysolmerski


