
Welcome to the Wedding Sign: A Complete Planning Guide
How to Create a Welcome Sign That Sets the Tone for Your Big Day

When guests arrive, a welcome to the wedding sign is one of the first touches that tells them what to expect: formal or relaxed, whimsical or classic, intimate or party-mode. You want that opening moment to look effortless and feel intentional. This guide walks you through everything, from wording and size to styling and where to order, so your welcome sign becomes a small detail that makes a big impression.
Jump to a Section
- Why a Welcome to the Wedding Sign Matters
- Key Elements of a Great Welcome Sign
- Styles and Materials: Choosing the Right Look
- What to Write: Wording and Tone Ideas
- Size, Scale, and Placement
- Styling Your Sign with Florals, Frames, and Stands
- Coordinate Signage with Other Wedding Elements
- DIY vs. Custom: How to Choose
- Budgeting and Ordering Timeline
- Installation and Care on the Wedding Day
- Creative Alternatives and Matching Pieces
- Final Checklist Before the Big Day
- Frequently Asked Questions
Why a Welcome to the Wedding Sign Matters
Your welcome sign does several jobs at once. It directs traffic, shares logistics, and gives guests a first impression. But beyond function, it communicates mood. A script-lettered wooden sign feels warm and rustic; a clean acrylic sign reads modern and sleek. Think of your welcome sign as the opening line to your wedding story.
- First impression: It sets tone and vibe.
- Navigation: It helps guests know where to go and what to expect.
- Memory-making: It's a photo spot and part of your wedding photos.
- Branding your day: It ties your colors, fonts, and motif together.
Key Elements of a Great Welcome to the Wedding Sign
Designing a sign that works means paying attention to a few essentials. You want clarity, style, and durability.
- Readability: Guests shouldn't have to squint. Use a large, legible font for names and key info.
- Hierarchy: Make the most important info biggest: names, then the wedding date or a brief greeting, then directions if needed.
- Contrast: Dark text on a light background or vice versa improves visibility in any lighting.
- Durability: If your venue is outdoors, pick weatherproof materials or have a backup.
Styles and Materials: Choosing the Right Look
There's no single "right" material. Choose what fits your wedding's mood and your practical needs. Below are common options and what they say about your wedding.

Wood
Wood gives a natural, warm vibe. It's great for barn weddings, backyard celebrations, or anything with a rustic or boho feel. You can paint it, burn designs into it, or leave it raw for a more organic look.
Acrylic
Acrylic feels modern and chic. Clear or frosted panels look beautiful with metallic or white lettering. Acrylic is lightweight and easy to transport, but it shows fingerprints, so plan for a quick wipe before the ceremony.
Foam Board and Corrugated Plastic
These are budget-friendly and light. They're good for short-term outdoor use if laminated, and they're easy to spike into the ground or lean on an easel.
Chalkboard or Painted Board
Chalkboards are charming and customizable. If you want handwritten warmth, they're a great choice. Consider sealing the chalk to avoid smudges, especially if kids or wind are present.
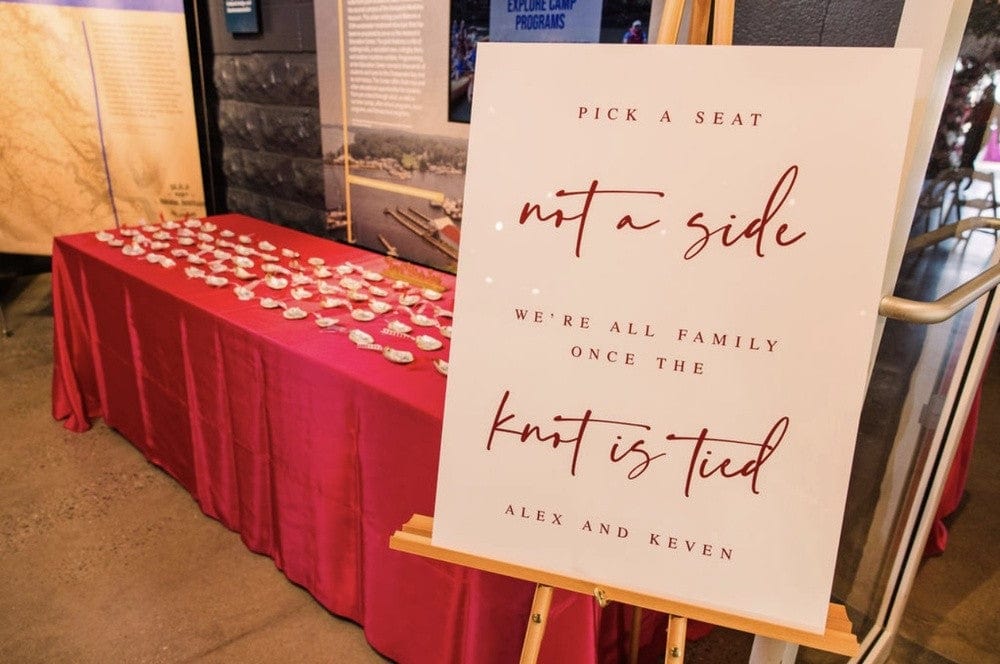
What to Write: Wording and Tone Ideas
Wording sets the mood. Decide whether your sign should be formal, playful, or somewhere in between.
Classic Wording
"Welcome to the Wedding of [Name] & [Name] / [Date]"
Casual and Playful
"Cheers, Drinks, Dancing — Welcome!" or "So Glad You're Here!"
Directional with Welcome
"Welcome to the Wedding of [Name] & [Name] — Ceremony This Way →"
Minimal
Just the names and date. Clean and modern.
When you choose wording, keep it short. Your welcome to the wedding sign should be readable from a distance. Use the main line for names and the second line for an optional instruction or date.
Size, Scale, and Placement: Practical Tips

- Measure your entrance: Note the distance guests will stand from the sign. For a driveway drop-off, go bigger; for a cottage entry, keep it modest.
- Rule of thumb: For a sign that needs to read from 10 to 15 feet away, aim for letters at least 2 to 3 inches tall for secondary text and 6 to 8 inches for main names or greeting.
- Proportion: If you're using an easel, pick a sign that fills the easel without looking cramped.
- Multiple signs: If you need directions and a welcome, consider two smaller signs. They're easier to move and style.
For quick ordering and sizing options, our personalized acrylic wedding signs are a good reference for popular dimensions and styles.
Styling Your Sign with Florals, Frames, and Stands
Floral Garlands
Wrap a partial garland around the top or side. Use the same flowers or greenery as your bouquets for cohesion. Faux florals work well if you need durability or if your venue's flowers are limited.
Frames and Backing
A simple gold frame lifts a sign, while a painted backing can make text pop. For outdoor lawns, a framed sign on a stake looks polished and stays grounded.
Easels and Stands
Add height with a wooden or metal easel. For heavier materials like a large wooden sign, use a sturdy stand or build a simple ladder display to support the weight.
Props and Textures
Consider rugs, lanterns, or a small table with guestbook items near the sign. Textures like woven baskets or velvet-covered crates add depth and make the sign feel intentional.
Coordinate Signage with Other Wedding Elements

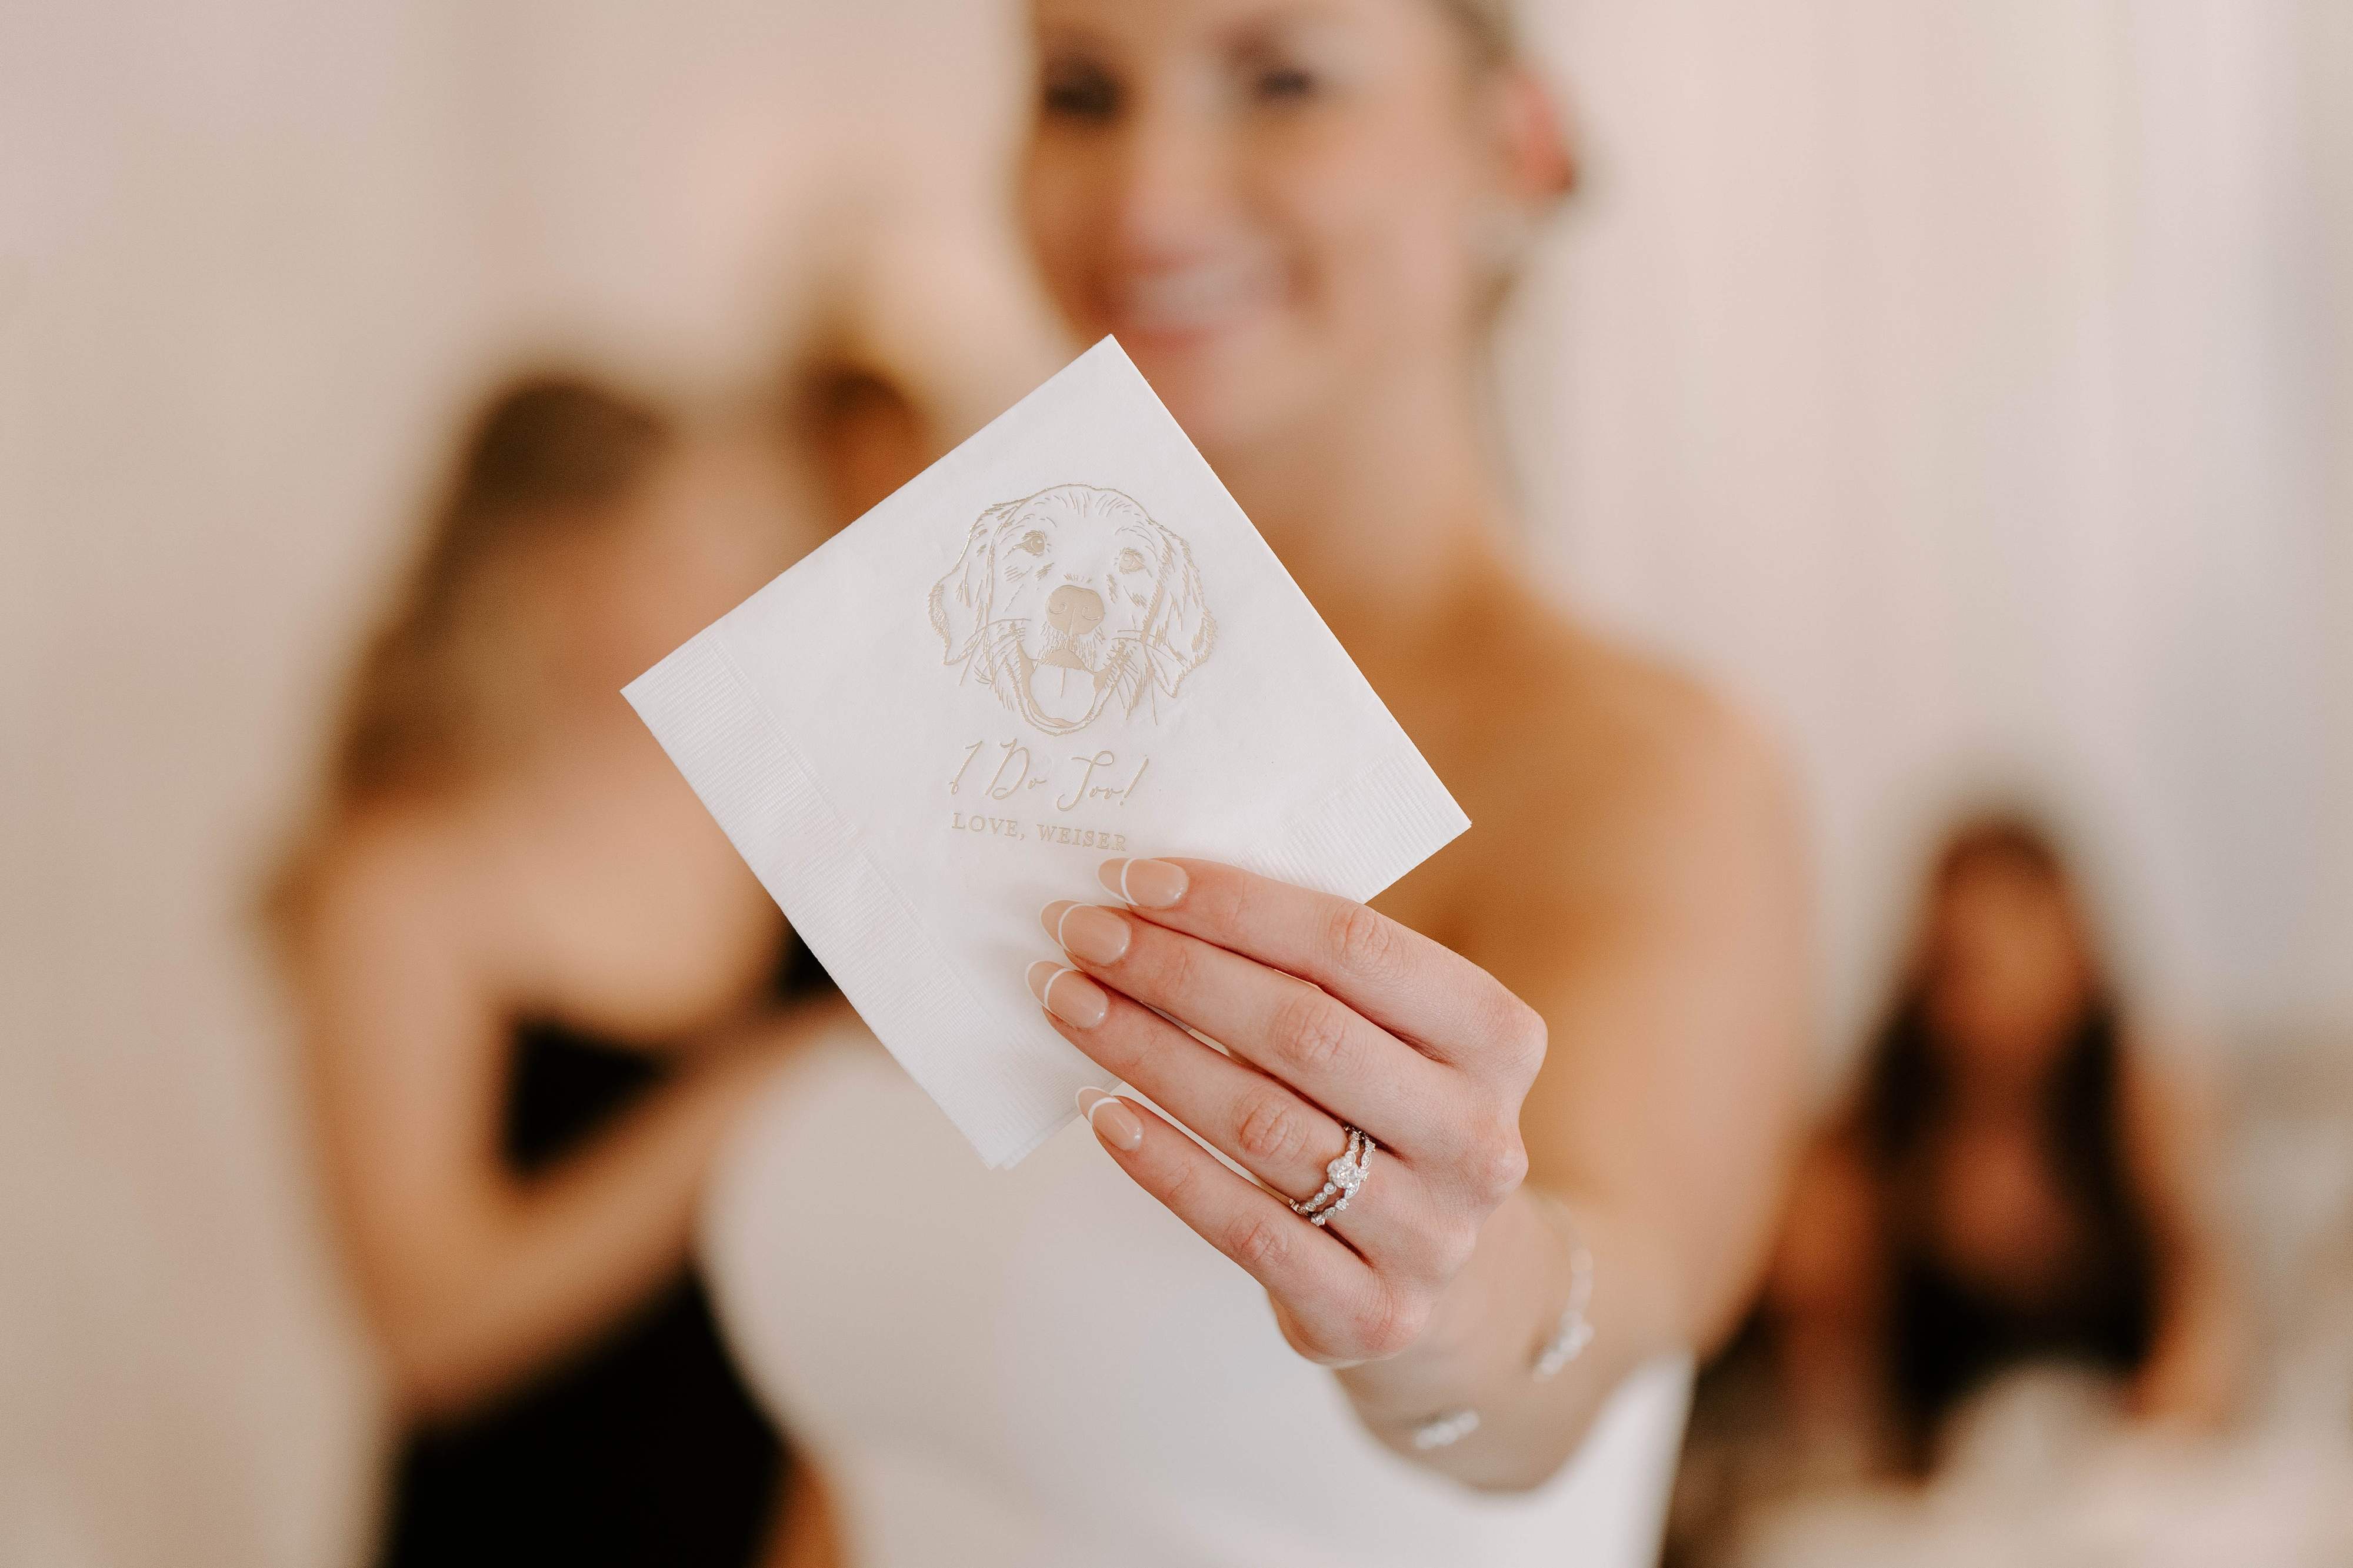
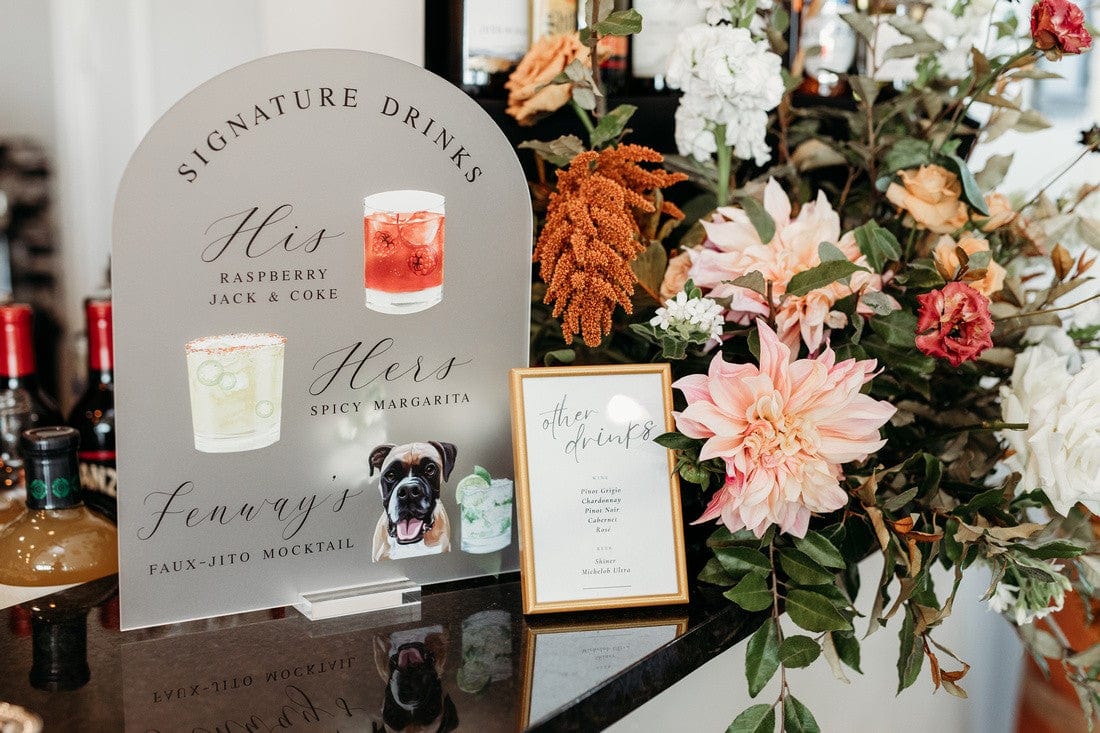
Your welcome sign shouldn't feel isolated. Align fonts, colors, and motifs across place cards, menus, and cocktail napkins for a cohesive look. If you've chosen a playful illustration, carry it to smaller items to make the theme feel intentional and thoughtful.
We often see couples tie in their welcome sign with custom napkins or cups. For instance, pairing an illustrated dog motif on your napkins with that same illustration subtly placed on your welcome sign creates charming continuity. If you want help bringing that vision to life, you can reach out to us and we'll walk you through matching pieces.
DIY vs. Custom: How to Choose
DIY Pros
- Cost-effective for simple signs.
- Personal touch — your handwriting or painting can feel very intimate.
- Quick turnaround if you have time and materials.
DIY Cons
- May look amateur if you're not confident with hand lettering or tools.
- Fragility or weather vulnerability if materials aren't treated.
- Time-consuming during an already busy planning phase.
Custom Pros
- Professionally finished and durable.
- Time-saving and stress-reducing, especially helpful if you're coordinating many things.
- Options for personalization: custom fonts, pet portraits, and matching set pieces.
Custom Cons
- Higher cost than basic DIY.
- Requires ordering in advance and clear communication about proofs and revisions.
If you value a polished look and want your sign to match items like custom napkins or cups, custom signage is worth the investment. Browse our acrylic wedding signs collection to see popular custom styles and finishes.
Budgeting and Ordering Timeline
- 6 to 12 months before: Decide on the sign style and size. If you need a highly customized sign with illustrations, start early.
- 2 to 3 months before: Finalize wording and design. This is when you should place orders for custom signs.
- 2 to 4 weeks before: Confirm shipping details and do a final quality check when the sign arrives. If it's a local order, pick it up and store it safely.
Price ranges vary: simple foam board signs can be very affordable, while custom hand-painted wood or acrylic signs can be a few hundred dollars. If you're on a tight budget but still want a coordinated look, pair a modest sign with high-impact custom pieces like wedding napkins or frosted cups instead. For assistance or to discuss timelines, you can contact us.
Installation and Care on the Wedding Day
- Assign a point person: Have a vendor or friend place the sign an hour before guests arrive.
- Weather prep: If rain is possible, bring a protective cover or move the sign under a porch or tent.
- Quick cleaning kit: Bring a microfiber cloth and a small bottle of cleaner for acrylic signs, and touch-up paint or markers for small scuffs.
- Secure it: Use weights, sandbags, or stakes for outdoor signs to prevent tipping in wind.
Test a mock setup in your home or at the venue beforehand. Seeing the sign at actual scale will help you confirm placement and styling decisions.
Creative Alternatives and Matching Pieces
If a traditional sign isn't your style, there are creative ways to say "welcome":
- Marquee letters: Great for evening receptions and photo moments.
- Projector signage: Project a welcome message onto a wall, barn, or dance floor for a modern twist.
- Fabric banners: Lightweight and perfect for boho or outdoor settings.
- Signboard with photos: Use an easel-mounted frame filled with engagement photos or family images alongside a small welcome plaque.
To make your welcome feel cohesive, match textiles, printed items, and small touches like cocktail napkins. Our illustrated dog wedding napkins are a charming way to extend a motif from your welcome sign into other details at the bar and guest tables.
Final Checklist Before the Big Day
- Confirm final design and measure actual placement at the venue.
- Double-check spelling of names and dates.
- Arrange for secure installation and a point person for setup.
- Plan weather contingencies for outdoor signs.
- Pack a cleaning kit and repair tools for touch-ups.
- Coordinate sign styling with other printed pieces like menus, napkins, and cups.
Frequently Asked Questions
How do I choose between wood and acrylic for a welcome sign?
Choose based on aesthetic and venue. Wood fits rustic or natural settings and has warm texture. Acrylic reads modern and makes colors pop. Consider durability and whether you need something weatherproof; acrylic is lighter and easier to transport.
What size should a welcome sign be for an outdoor ceremony?
For outdoor entrances where guests may be 10 to 20 feet away, aim for a sign at least 24 by 36 inches. Bigger is better if you need directional text readers must see from far away.
Can I match my welcome sign to other decor items?
Yes. Match fonts, colors, and motifs across menus, place cards, napkins, and cups. Small repeating elements, like an illustrated motif or monogram, help create a cohesive look.
How far in advance should I order a custom sign?
Order custom signs two to three months before the wedding. If your sign includes detailed illustrations, allow more time for proofing and revisions, up to three to four months.
Is it better to DIY the welcome sign?
DIY is great if you're confident with design and hand-lettering and you enjoy crafting. If you want a polished, durable piece that coordinates with other custom items, ordering a professional sign is usually the better route.
What are some eco-friendly sign options?
Choose reclaimed wood, sustainably sourced materials, or reusable signs that can be donated or repurposed after the wedding. Alternatively, fabric banners and chalkboards are reusable and low waste.
Conclusion
Your welcome to the wedding sign is a small element with outsized impact. When you think through wording, scale, material, and styling, the sign becomes an approachable first chapter for your day. Whether you go handmade or custom, pair the sign with matching elements like napkins, cups, or printed favors to make the design feel intentional and polished. With the right planning, your welcome sign will not only guide guests but also become a beautiful keepsake from your celebration.
Related Posts
- Welcome to Wedding Sign: Ideas, Wording, and Design Tips
- Welcome Sign to Wedding: A Complete Planning Guide
- The Ultimate Guide to Wedding Welcome Sign Ideas 2026
- 9 Stunning Wedding Party Sign Ideas to Elevate Your 2026 Event
- 5 Signs Every Wedding Needs
- Don't Forget Your Wedding Signage!
- 9 Stunning Wedding Party Sign Ideas to Elevate Your 2026 Event
- Personalized Touches for Guests That Make Weddings Unforgettable
- Wedding Color Palette Ideas: 25 Stylish Palettes and How to Use Them
- Checklist for Wedding Decor: Everything You Need
About Rubi and Lib
At Rubi and Lib, we specialize in helping you celebrate life's most memorable moments with personalized wedding and party decor designed to reflect your unique style. From custom cocktail napkins and frosted plastic cups to bar signs and party favors, our curated collections are created to elevate your celebration and leave a lasting impression on your guests.
Whether you're planning a wedding, bridal shower, bachelorette party, baby shower, or birthday bash, our products add a thoughtful, stylish touch that turns an ordinary gathering into an unforgettable event. Many of our designs feature custom illustrations, including pet portraits, so your decor feels as one-of-a-kind as your story.
As a women-owned small business, we're passionate about making the ordering process seamless and enjoyable. Every item is crafted with care and attention to detail, and most of our products are made in the USA. We believe celebrations should feel personal, joyful, and stress-free, and that's why we're here to help you create meaningful moments, one custom detail at a time.
Explore our best sellers, browse our wedding collection, or reach out for something truly unique. At Rubi and Lib, your celebration is our inspiration.

Written by Bethany Wysolmerski


